How to Read an Ordnance Survey Map Confidently | Guide
- Brendon Hayward
- Aug 2, 2025
- 16 min read
Unfolding an Ordnance Survey (OS) map for the first time can feel a bit like you’re trying to crack a code. But once you know what to look for, it all starts to click. Learning how to read an Ordnance Survey map is simply a case of understanding a few key parts: the map series, its scale, the legend, and those grid lines crisscrossing the page.
These elements work together, turning that flat sheet of paper into a rich, three-dimensional guide to the British landscape.
Your First Look at an Ordnance Survey Map
Before you can confidently stride out on a trail, you need to get to know your map. Think of it as meeting a new walking partner. Your first job is to understand what kind of map you're holding and the level of detail it's going to give you.
Most walkers, cyclists, and outdoor lovers in the UK will rely on one of two main OS map series. Each is built for a different job, and picking the right one is your first real step towards a successful day out. It’s a crucial choice, as it dictates just how much information you'll have at your fingertips when you need it most.
Choosing Your OS Map Explorer vs Landranger
So, you’ve decided to get a map. The two you’ll see most often are the Explorer series (with their distinctive orange covers) and the Landranger series (wrapped in pink). They might look similar at a glance, but they are designed for very different adventures. Understanding the distinction is key to not getting caught out.
Here’s a quick breakdown to help you choose the right map for your needs:
Feature | OS Explorer (1:25,000) | OS Landranger (1:50,000) |
|---|---|---|
Best For | Walking, hiking, climbing, local exploration | Long-distance cycling, driving, route planning |
Scale | 4cm on the map = 1km on the ground | 2cm on the map = 1km on the ground |
Detail Level | Extremely high. Shows field boundaries, footpaths, walls, and even individual buildings. | Good general detail, but lacks finer points like field boundaries or fence lines. |
Coverage | Smaller geographical area | Much larger geographical area |
Look For | The orange cover. The walker's go-to map. | The pink cover. Great for an overview of a region. |
For most day hikes and detailed navigation, especially in hilly or complex areas like many of the **best Northumberland National Park walks**, an Explorer map is easily the better choice. That extra detail gives you the confidence to spot small features and stay on track.
A Quick Tip from Experience: Always check the cover or legend for the series and scale before you buy. This one piece of information tells you instantly if you’re holding a map for a detailed fell walk or one better suited for a road trip. It’s a simple check that prevents a lot of frustration later on!
The History Behind the Details
The maps we rely on today have a surprisingly dramatic history. The Ordnance Survey, the UK's national mapping agency, was actually formed back in 1745 to map the Scottish Highlands in the aftermath of the Jacobite rising.
It took until 1801 for the very first OS map to be published—a stunningly detailed copperplate etching of Kent that took three years to complete. A huge leap forward came in the mid-19th century with the introduction of contour lines, which finally gave maps the three-dimensional feel we now take for granted by showing the shape and height of the land. This rich history is what puts so much incredible detail right in your hands.
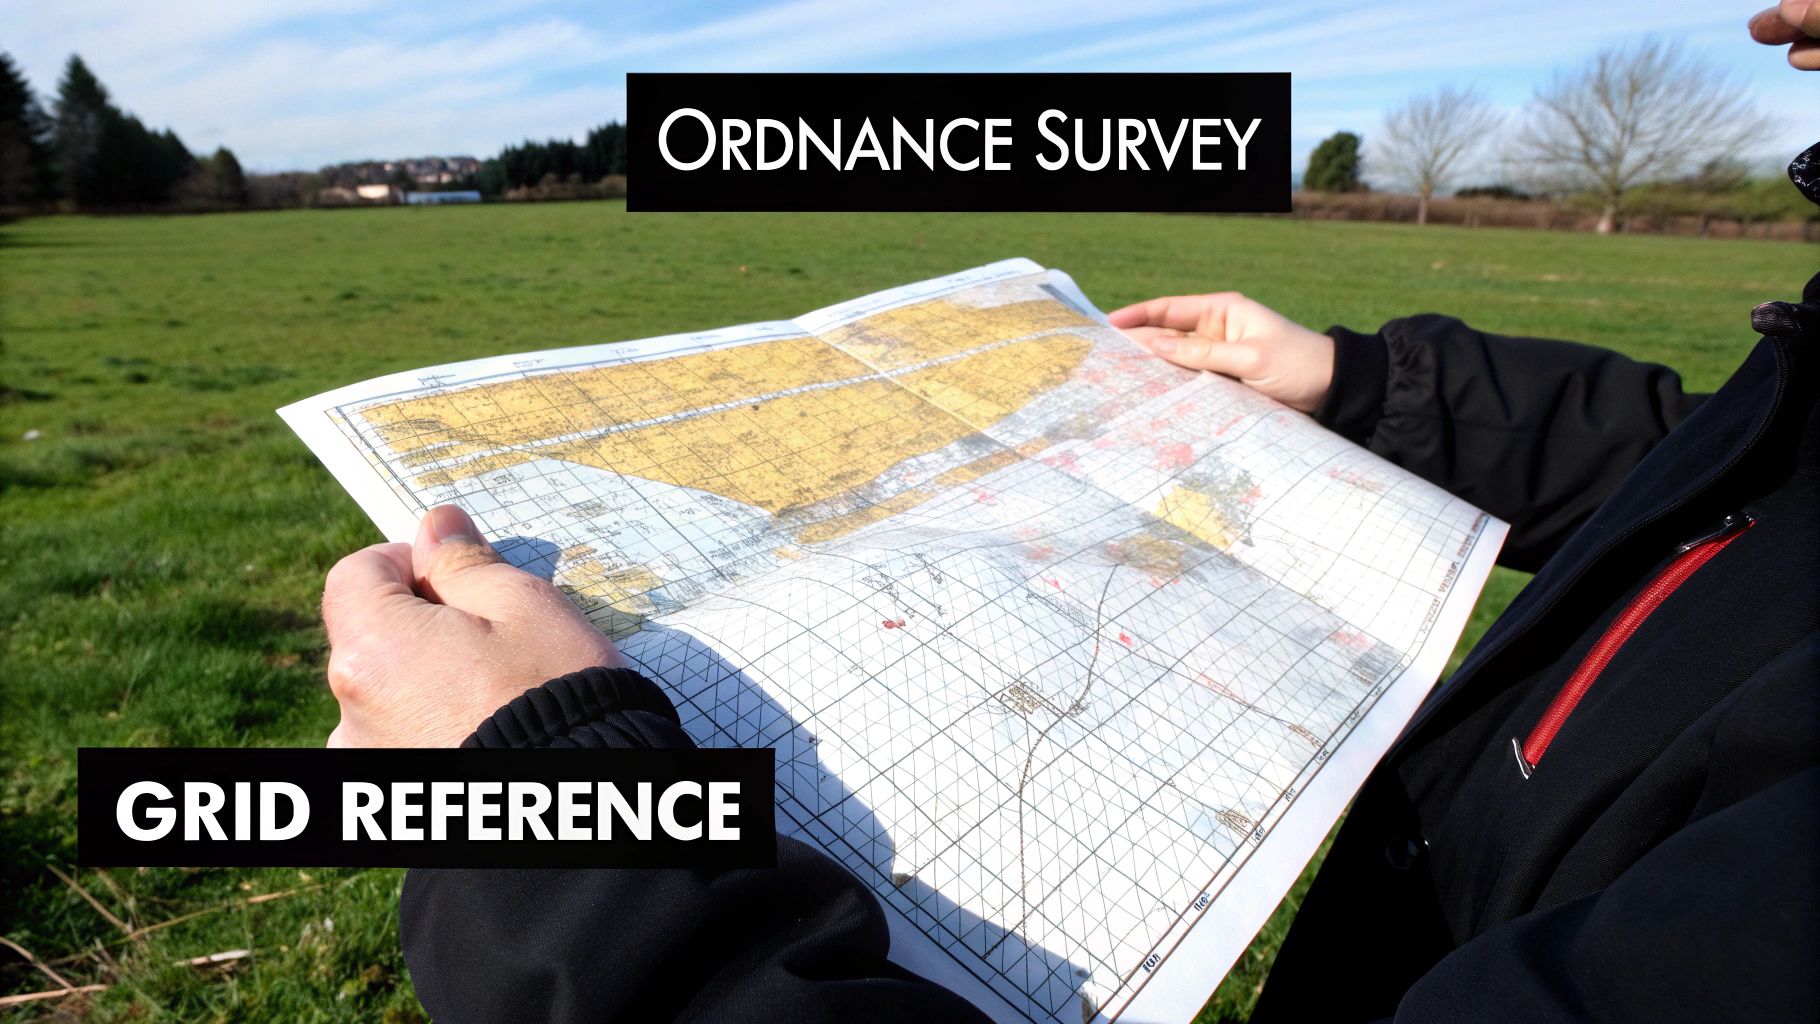
Finding Your Location with Grid References
Those faint blue lines crisscrossing your Ordnance Survey map are the secret to unlocking its real power. They form the British National Grid, a system that lets you pinpoint any location in Great Britain with incredible accuracy. Getting your head around grid references is the first big hurdle, but once you do, the map transforms from a simple drawing into a proper navigation tool.
At first glance, the grid can look a bit intimidating, but the principle is actually very simple. The numbers running along the bottom edge are called eastings (because their value increases as you move east), and the numbers running up the side are northings (because they increase as you move north).
The old mnemonic still holds true: "along the corridor, then up the stairs." It's a lifesaver for remembering you always read the easting value first, then the northing.
Finding Your Bearings with a Four-Figure Reference
Let's start with a four-figure grid reference. This is your go-to for identifying a whole one-kilometre grid square, which is perfect for finding a general area like a village, a large patch of woodland, or the car park where you’re starting your walk.
Say you're looking for a pub marked on your map, The Red Lion.
First, go "along the corridor". Run your finger along the bottom of the map to find the easting line just to the left of the pub symbol. Let’s say that line is numbered 25.
Next, go "up the stairs". Move your finger up from the side of the map to find the northing line directly below the pub. We'll say this one is 47.
Put them together and you've got your four-figure grid reference: 2547. This tells you The Red Lion is somewhere inside that specific 1km square. It’s not pinpoint accurate, but it gets you into the right neighbourhood.
A classic beginner’s mistake is getting the numbers the wrong way around. Always remember: eastings first, then northings. Getting this right is the absolute foundation of map reading.
Pinpointing Your Position with a Six-Figure Reference
A four-figure reference is great for getting you close, but for finding a specific feature like a footbridge, a stile, or a trig point, you need more precision. This is where a six-figure grid reference comes into its own, narrowing your location down to a 100-metre by 100-metre patch of ground.
To get a six-figure reference, you just need to visually divide that one-kilometre square into a smaller 10x10 grid.
Let's go back to our grid square 2547 and find a specific footbridge inside it.
Refine the Easting: Look inside the square, between easting lines 25 and 26. Imagine that space is divided into ten smaller segments. Estimate how many of those segments across from line 25 the footbridge is. If it looks about four-tenths of the way across, your third digit is 4.
Refine the Northing: Now do the same thing vertically. Imagine the space between northing lines 47 and 48 is also divided into ten. If the bridge looks about eight-tenths of the way up from line 47, your sixth digit is 8.
Now, you just slot these new numbers into your original reference.
The easting becomes 25 followed by its refinement, 4. The northing becomes 47 followed by its refinement, 8. This gives you a precise six-figure grid reference: 254 478.
This is an essential skill. It’s how you can tell someone your exact location or double-check you’re at the right stile before turning onto a new path. The best way to learn is to practise. Just pick random features on your map and work out their six-figure references—it’ll become second nature before you know it.
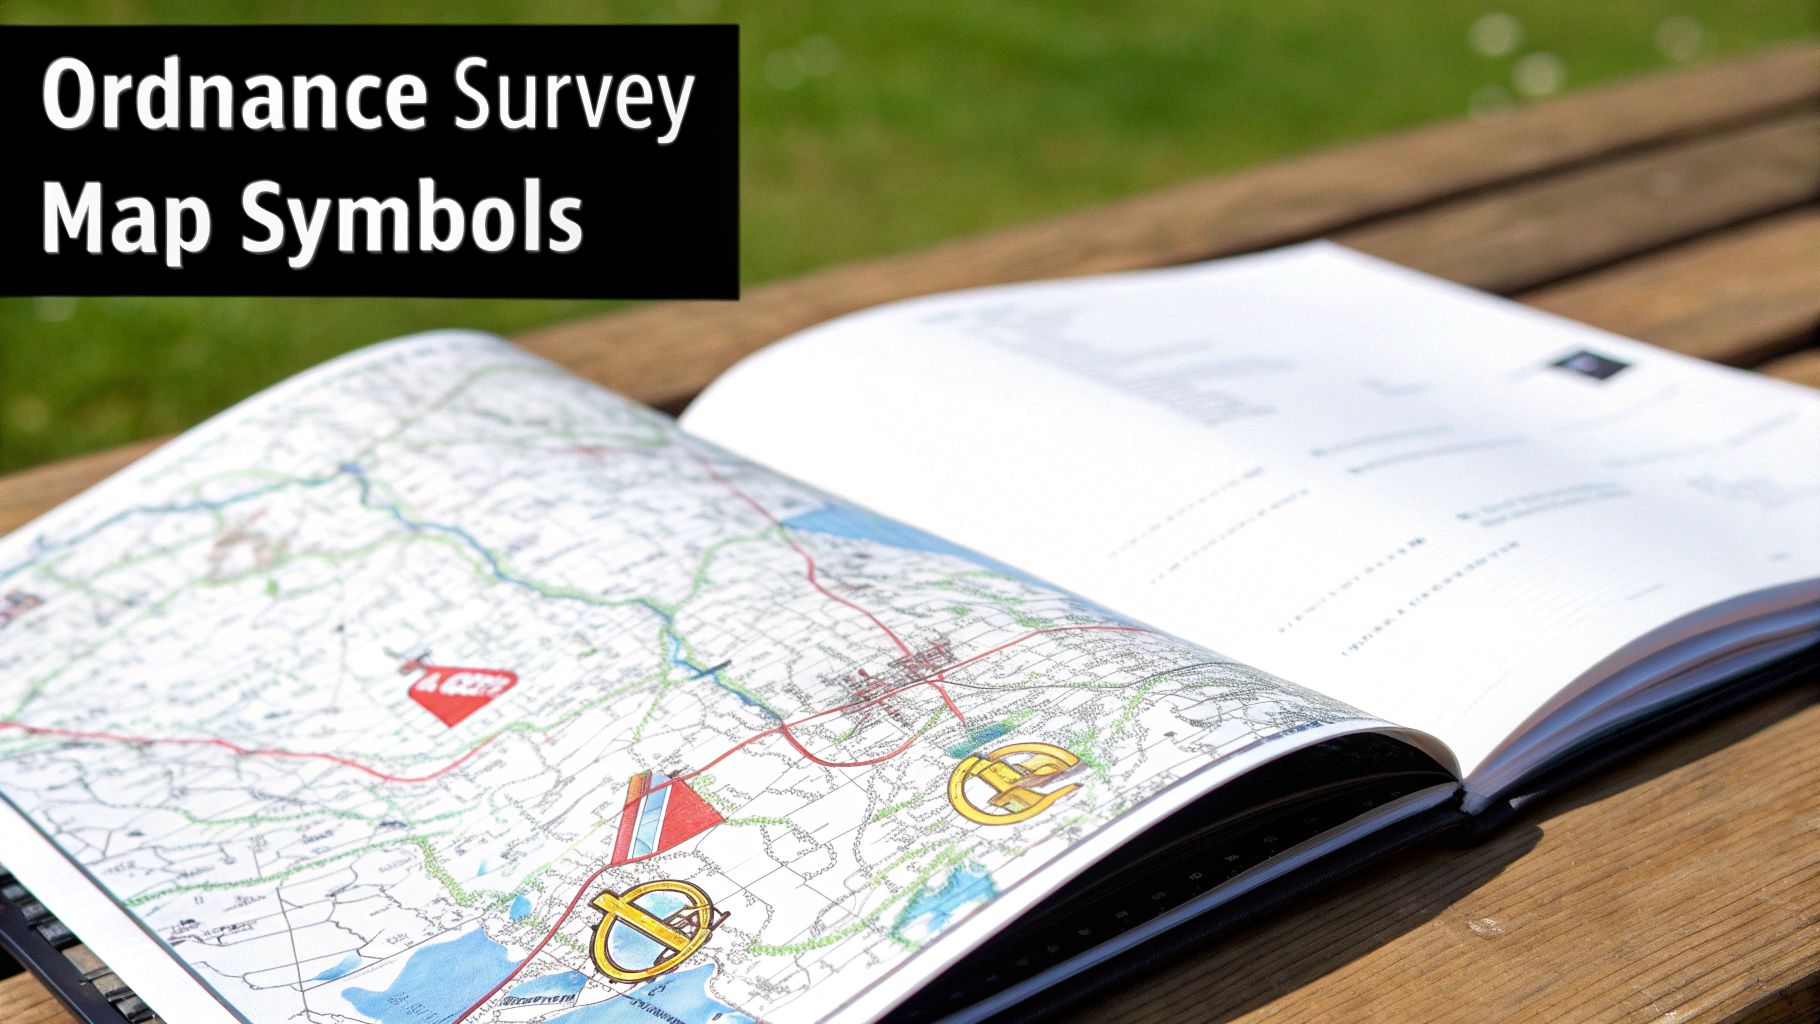
Decoding Map Symbols and Features
An Ordnance Survey map is covered in a rich language of symbols, all designed to paint a vivid picture of the landscape. Think of this section as your personal translator. Rather than just staring at the map’s legend (or key) and trying to memorise a long, dry list, we’ll break down the most important symbols by theme. It’s a far more intuitive way to learn and helps you see how different features connect when you're out on a walk.
Getting to grips with these symbols is a huge part of learning how to read an Ordnance Survey map. They tell the story of the ground beneath your feet, revealing everything from the type of path you're on to the landmarks you’ll use to confirm you’re heading in the right direction.
Understanding Rights of Way
First things first: for any walker, knowing where you’re legally allowed to roam is essential. OS maps use different colours and line styles to show public rights of way. Get them mixed up, and you could find yourself at a dead-end or, worse, trespassing on private land.
Public Footpaths: Shown as dashed green lines (or magenta on the pink Landranger maps), these are for walkers only. They form the backbone of most hiking routes.
Public Bridleways: Marked with longer green dashes (or magenta), these are open to walkers, horse riders, and cyclists. They’re often wider and can be a bit muddier as a result.
Byways Open to All Traffic (BOATs): You'll see these as a line of green crosses. As the name implies, they are open to vehicles as well as everyone else.
Permissive Paths: These pop up as orange dashed lines and are not a legal right of way. Access is granted by the landowner and could be withdrawn at any time.
Understanding the difference is key to planning the kind of walk you want. If you’re after a quiet stroll, sticking to footpaths means you won’t be sharing the trail with cyclists or 4x4s.
Identifying Natural and Man-Made Features
Map symbols do more than just point you down a path; they help you build a mental image of your surroundings. Being able to spot key features on the map and then in real life is one of the most reliable ways to navigate. You can "tick them off" as you pass them, constantly confirming you are where you think you are.
Keep an eye out for these common symbols—they make brilliant navigational aids:
Woodland: Areas shaded green are woods. The little tree symbols tell you if it's coniferous (like a Christmas tree), non-coniferous (deciduous), or a mix of both.
Water Features: Blue lines are rivers and streams, while solid blue areas show lakes, ponds, or reservoirs. Patches of blue tufts of grass signal marshy ground to be wary of.
Buildings and Landmarks: Black squares are buildings. Important ones get their own symbols, like a church with a tower or a spire. You'll also see a ‘P’ for a car park or a ‘PH’ for a public house—always a welcome sight! A red triangle marks a youth hostel.
Practical Tip: Don't just follow the line of your path on the map. Look at what's around it. If the map shows you should pass a small patch of coniferous wood on your left just before crossing a stream, you can use those features to pinpoint your position without even glancing at your compass.
Putting It All Together: A Real-World Scenario
Let's imagine you're planning a walk. You've spotted a pub (a ‘PH’ symbol) on your map at grid reference 345 812 and want to walk to a historical site (marked with antiquities text) at 361 805.
You start by tracing the route along the dashed green line of a public footpath. You can see it leaves the pub, cuts across a field, and then runs alongside a non-coniferous wood. About halfway along, the map shows the path crossing a small stream (a thin blue line) via a footbridge (marked ‘FB’).
After the stream, the path begins to climb gently—you know this because it starts crossing the brown contour lines, which we'll get to next. Finally, you see the path joins a wider public bridleway for the last 500 metres before it reaches the old ruins.
By reading the symbols together, you’ve already visualised the entire journey. You know what to expect and which landmarks to look out for. This is the real power of understanding the map’s language.
Of course. Here is the rewritten section, following all your instructions and adopting the specified human-like tone and style.
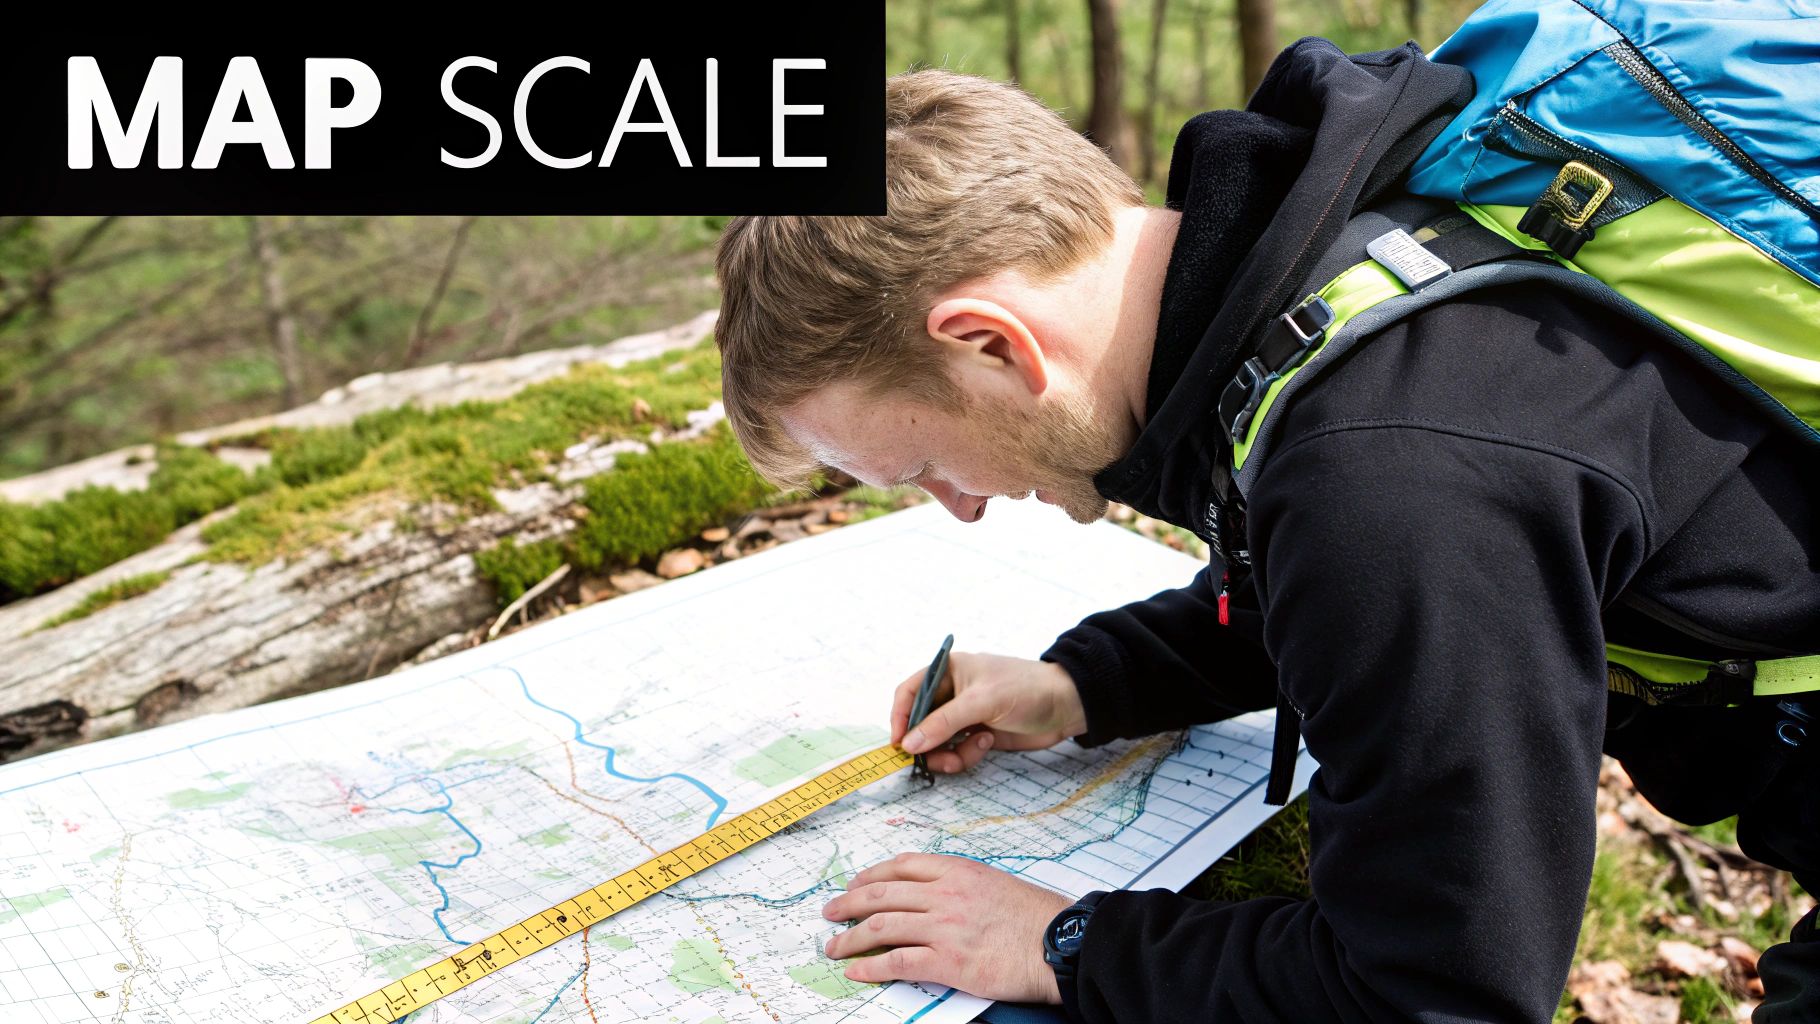
How to Measure Distance and Estimate Time
Knowing exactly where you are on a map is a fantastic start, but it's only half the story. The real skill for safe and enjoyable adventures is understanding the distance to your destination and, just as importantly, estimating how long it will take to get there.
This is the moment you go from simply reading a map to becoming a confident navigator.
The key lies in the map's scale, usually printed in the legend. This little number is the bridge between the paper in your hands and the ground under your feet, telling you exactly how much the real world has been shrunk down. For most walkers, the one to know is the Ordnance Survey (OS) 1:25,000 scale, found on their popular Explorer maps. It's favoured by hikers for a reason: every centimetre on the map represents 250 metres on the ground, giving you brilliant detail on footpaths, streams, and field boundaries. You can learn more about the rich history of these remarkable maps directly from Ordnance Survey.
Using Your Compass or String to Measure Distance
Measuring a straight line is easy, but footpaths rarely play ball. They twist, turn, and meander around hills and through valleys. So, how do you measure a winding path?
The classic, low-tech answer is a simple piece of string. Carefully lay it along your route on the map, following every little bend. Once you reach your destination, mark the string, straighten it out, and hold it against the map's scale bar. Job done.
If you don't have string, the edge of your compass baseplate works just as well, especially for shorter sections.
Place the edge of your compass at your starting point.
Pivot it along the path until it makes a sharp turn.
Make a tiny pencil mark on the map at that pivot point, then line up your compass from there.
By adding up these short, straight sections, you can get a surprisingly accurate total distance.
My Personal Tip: For longer routes, I always use the string method before I even leave the house. It helps me plan realistic daily distances and decide which of the best Northumberland walking trails are genuinely achievable in the time I have.
Going Beyond Distance with Naismith's Rule
Distance alone can be a poor guide for timing. A flat two-kilometre walk along a river is a world away from a two-kilometre slog up a steep fell. This is where Naismith's Rule becomes an absolute game-changer for estimating your journey time. It’s a beautifully simple formula that accounts for both distance and climbing.
Here’s the basic rule:
Allow one hour for every 5 kilometres (or 3 miles) of walking.
Then, add an extra 1 minute for every 10 metres of ascent (climbing).
Let's imagine you've planned an 8km walk that involves climbing 300 metres.
Calculate the distance time: At a pace of 5km per hour, the 8km distance will take roughly 1 hour and 36 minutes.
Calculate the ascent time: You add 1 minute for every 10 metres of climbing. For a 300m ascent, you'll need to add an extra 30 minutes (300 ÷ 10).
Add them together: 1 hour 36 minutes + 30 minutes = 2 hours and 6 minutes.
Suddenly, you have a much more realistic timeframe. Mastering this is a fundamental skill that helps ensure you’re not caught out by fading light on a walk that was tougher than it looked on paper.
Visualizing the Landscape with Contour Lines
If grid references are the map’s skeleton, then contour lines are its soul. These are the flowing brown lines that magically turn a flat piece of paper into a three-dimensional landscape you can almost feel. Getting your head around contours is what transforms basic map-following into true, confident navigation.
Each of these lines connects points of equal height above sea level. On a standard OS Explorer map (the 1:25,000 scale ones), they typically show a change of 5 metres in height. On seriously steep terrain, this might jump to 10 metres just to stop the lines from blurring into a single brown smudge. You can always double-check the interval in the map’s key.
Reading the Slope Steepness
The first and most important story contours tell is about how steep the ground is. It's a brilliantly simple visual cue that your legs will thank you for noticing before you start climbing.
Look at the map. You see two paths leading up a hill. One has contour lines packed so tightly they’re almost touching—that’s the map’s way of warning you about a short, sharp, lung-busting ascent. The other path has lines spaced widely apart, signalling a much gentler, more forgiving gradient.
Closely Spaced Contours: This means steep ground. Get ready for a tough climb or a tricky descent that will test your knees.
Widely Spaced Contours: This is your cue for flatter terrain or a gentle slope. Perfect for a relaxed stroll.
Evenly Spaced Contours: This points to a consistent, steady slope without any surprise steep sections.
Understanding this allows you to plan your day properly. Feeling strong? Take on the direct, steep route. Want to conserve energy for a long day out? Pick the winding, gentler path. To see how this plays out in the real world, check out the mix of terrain on these unforgettable Northumberland walking routes.
A Key Takeaway: The link between how close contour lines are and how steep the ground is, is the most crucial concept to grasp. It directly translates to the physical effort required and is the foundation of safe, enjoyable route planning.
Identifying Key Landforms
Once you can read steepness, you can start seeing entire landforms in the patterns. This is where it gets really clever. Suddenly, you're not just looking at lines; you're spotting hills, valleys, and ridges before you even see them in real life.
Every so often, you’ll see a thicker brown line with a number on it, like 350. This is an index contour, and it marks a major height interval, usually every 25 or 50 vertical metres. These numbers are your ultimate reference. If they get bigger as you move towards the middle of a circular pattern, you’re looking up at a hill. If they get smaller, you've found a dip or the bottom of a valley.
Common Contour Patterns to Recognise
Learning to spot these common shapes is what elevates your map reading from basic to brilliant. They are the building blocks of the landscape all around you.
Landform | How It Appears on the Map |
|---|---|
Hill or Summit | A pattern of closed, roughly circular contour lines. The highest number is in the middle. |
Ridge | A long, narrow stretch of high ground. The contours will be elongated, almost sausage-shaped, running parallel. |
Spur | A piece of land jutting out from a hillside. You'll see U-shaped or V-shaped contours pointing downhill. |
Valley or Re-entrant | An indentation cutting into a hillside, like a small valley. Look for U-shaped or V-shaped contours pointing uphill. |
Saddle or Col | The low point or dip between two hills. It looks like an hourglass or a figure-of-eight on the map. |
Being able to pick out these features is incredibly useful. A ridge often makes for a fantastic high-level walk with panoramic views. A saddle is usually the easiest place to cross from one valley into another. Spotting a spur can help you pinpoint your exact location on an otherwise featureless slope. This is the real art of navigation, and it all starts with those simple brown lines.
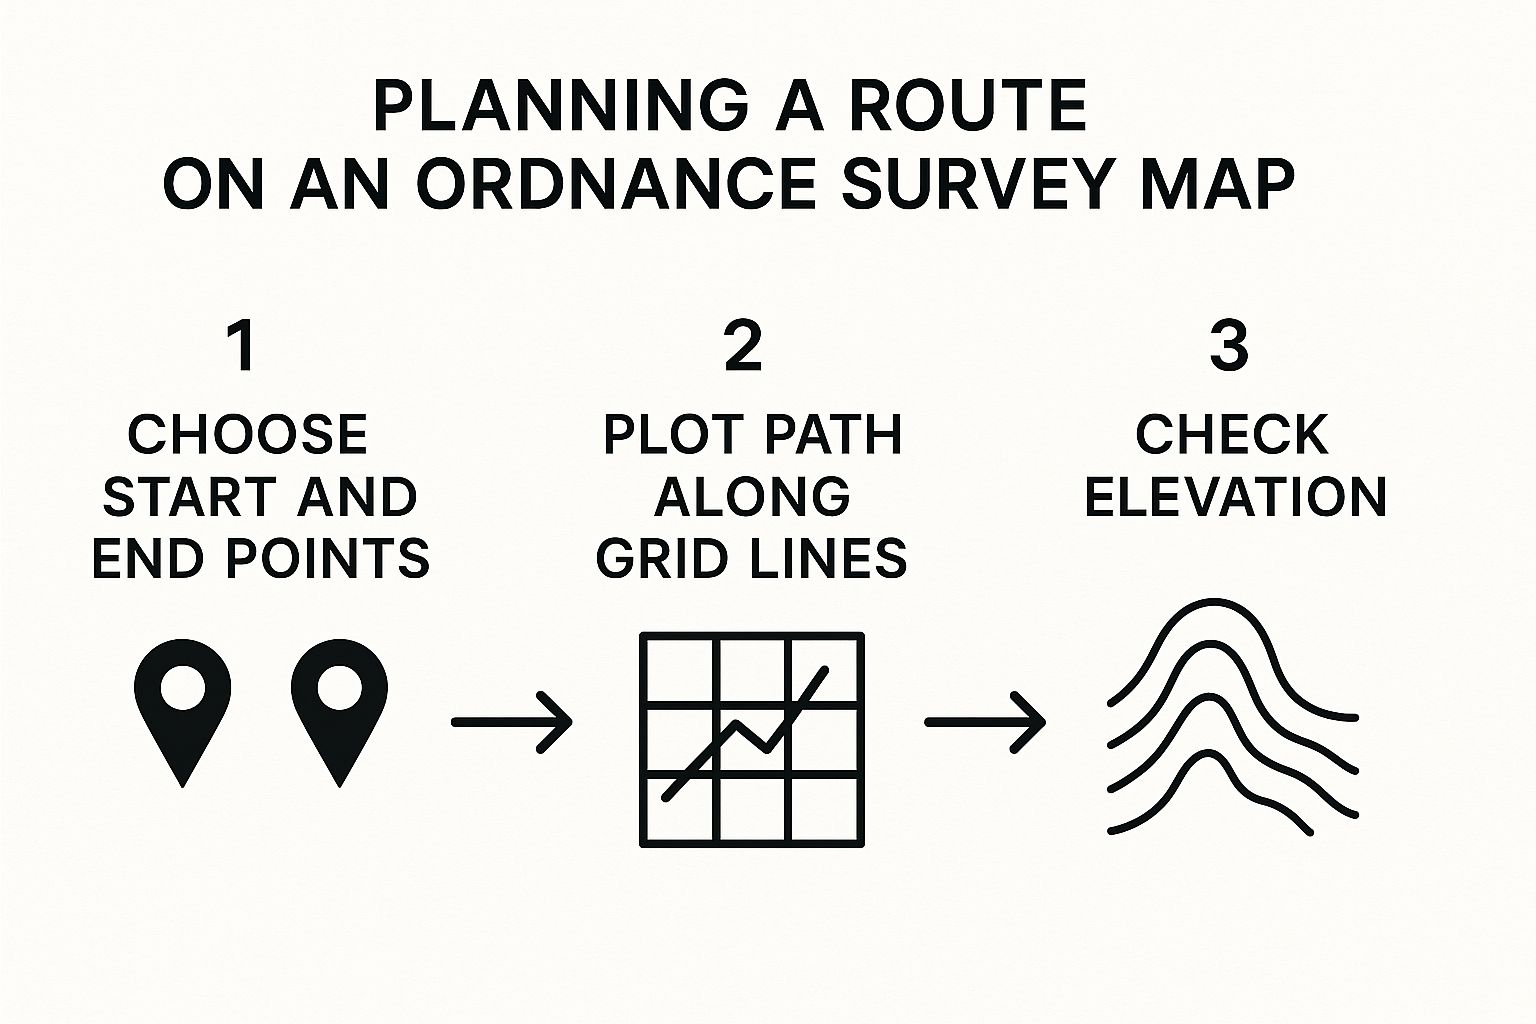
Putting Your Map Skills into Practice
Okay, let's move from theory to the trail. This is where the magic happens, where everything you’ve learned—grid references, symbols, and contour lines—comes together. Think of it less as a rigid set of rules and more as a conversation between you, the map in your hand, and the incredible landscape unfolding in front of you.
The very first thing to do, before you even take a step, is to orient your map. It sounds technical, but it’s simple: you’re just turning the map so it lines up with the world around you. Lay your compass flat on the map so the direction of travel arrow points to the top. Now, turn both the map and the compass together until the red end of the compass needle lines up with the north arrow in the compass dial. That's it. Your map is now set, and every path, wall, and stream on the paper should match what you see on the ground.
Tracking Your Progress on the Trail
Once your map is oriented, navigating becomes a fluid process of observing and confirming. You won't be staring down at the map the whole time. Instead, you'll glance at it to check you’re on track. Two of the most reliable ways I do this are by ‘ticking off features’ and using ‘catching features’.
Ticking Off FeaturesThis is an active, mental checklist you keep as you walk. Before you set off on a leg of your route, you’ll have clocked what’s coming up. Your map might show your path will:
Skirt a small patch of coniferous woodland on your left.
Cross a stream over a footbridge (marked as ‘FB’).
Pass through a gate in a classic stone wall.
As you pass each one, you mentally tick it off. It’s a brilliant way to constantly confirm your position and it builds huge confidence.
Using Catching FeaturesA catching feature is your safety net. It’s a big, impossible-to-miss landmark on your map that shouts, "You've gone too far!" Imagine you need to make a right turn off a main track onto a smaller footpath. Your map shows that about 200 metres past your turning, the main track crosses a river. That river is your catching feature. If you get to it, you know you’ve missed the turn and just need to backtrack a little.
A personal rule of mine is to always identify my next one or two catching features before I start walking. It lets me relax and enjoy the views, knowing the map will give me a nudge if I start to wander.
Handling Disorientation Calmly
Even the most seasoned walkers can have a moment of "hang on, where am I?" The absolute key is not to panic. If you feel a bit lost, just stop. Take a breath. Wandering on will only make it worse.
First, stay put. Get your map and compass out and orient the map to your surroundings. Now, have a good look around for any distinctive features. Can you see a church spire, a sharp bend in a river, a uniquely shaped hill, or where two stone walls meet? Try to spot two or three.
Once you have your landmarks, find them on your map. Your approximate location is where those features visually line up from your position. For instance, if you can see a radio mast to your east and a large lake to your south-west, you can pinpoint where you are with surprising accuracy. Putting these skills to the test in a place with varied terrain, like the area in our **Northumberland National Park guide**, is the perfect way to practise.
Combining Paper Maps and Digital Tools
Finally, learning how to read an Ordnance Survey map doesn't mean turning your back on technology. A paper map and a GPS device or smartphone are partners, not rivals. A GPS is fantastic for giving you a quick, precise grid reference, while a paper map gives you the bigger picture—the context and scale that a tiny screen just can’t provide.
Ordnance Survey maps are a cornerstone of outdoor life in the UK for a reason. They still print around 2 million paper maps a year, and it's a testament to their value that they work so well alongside modern tools. This powerful combination of a trusted paper map and digital accuracy gives you the most resilient and reliable navigation kit for any adventure.
Frequently Asked Questions About OS Maps
Once you've got the essentials down, you’ll find a few common questions always crop up when you’re out in the field with an Ordnance Survey map. Let’s walk through some of the most frequent queries I hear.
What’s the Difference Between Explorer and Landranger Maps?
This is probably the most common question, and the answer comes down to one thing: scale.
Explorer maps are drawn to a 1:25,000 scale. They show an incredible amount of detail—we’re talking individual field boundaries, fences, and every public right of way. This makes them the absolute gold standard for walkers and anyone exploring an area on foot.
Landranger maps, on the other hand, are 1:50,000 scale. They cover a much larger patch of ground but with less fine detail. These are my go-to for planning longer-distance routes or for activities like cycling where you're covering ground more quickly.
How Do I Know How Old My Map Is?
It’s a great question, because an out-of-date map can cause real problems. You'll find the publication date printed somewhere within the map's legend or key area.
It's always worth using the most recent map you can get your hands on. Paths get rerouted, access rights change, and new features appear. Just as importantly, the magnetic north declination (the difference between grid north and magnetic north) shifts over time, and new maps will have the most current information for your compass.
A map is your most reliable guide, but a compass is its essential partner. A compass lets you orient the map correctly and take bearings for precise navigation, especially in poor visibility. Using them together is the safest and most effective approach for any outdoor adventure.
Learning to navigate properly opens up a whole new world of exploration, putting you in the perfect position to spot incredible local wildlife. For a bit of inspiration, you can **discover local wildlife in Northumberland** and find the best spots to visit on your next trip.
Comments