Blister Prevention for Hikers: Expert Tips to Keep Feet Healthy
- Brendon Hayward
- Aug 3, 2025
- 13 min read
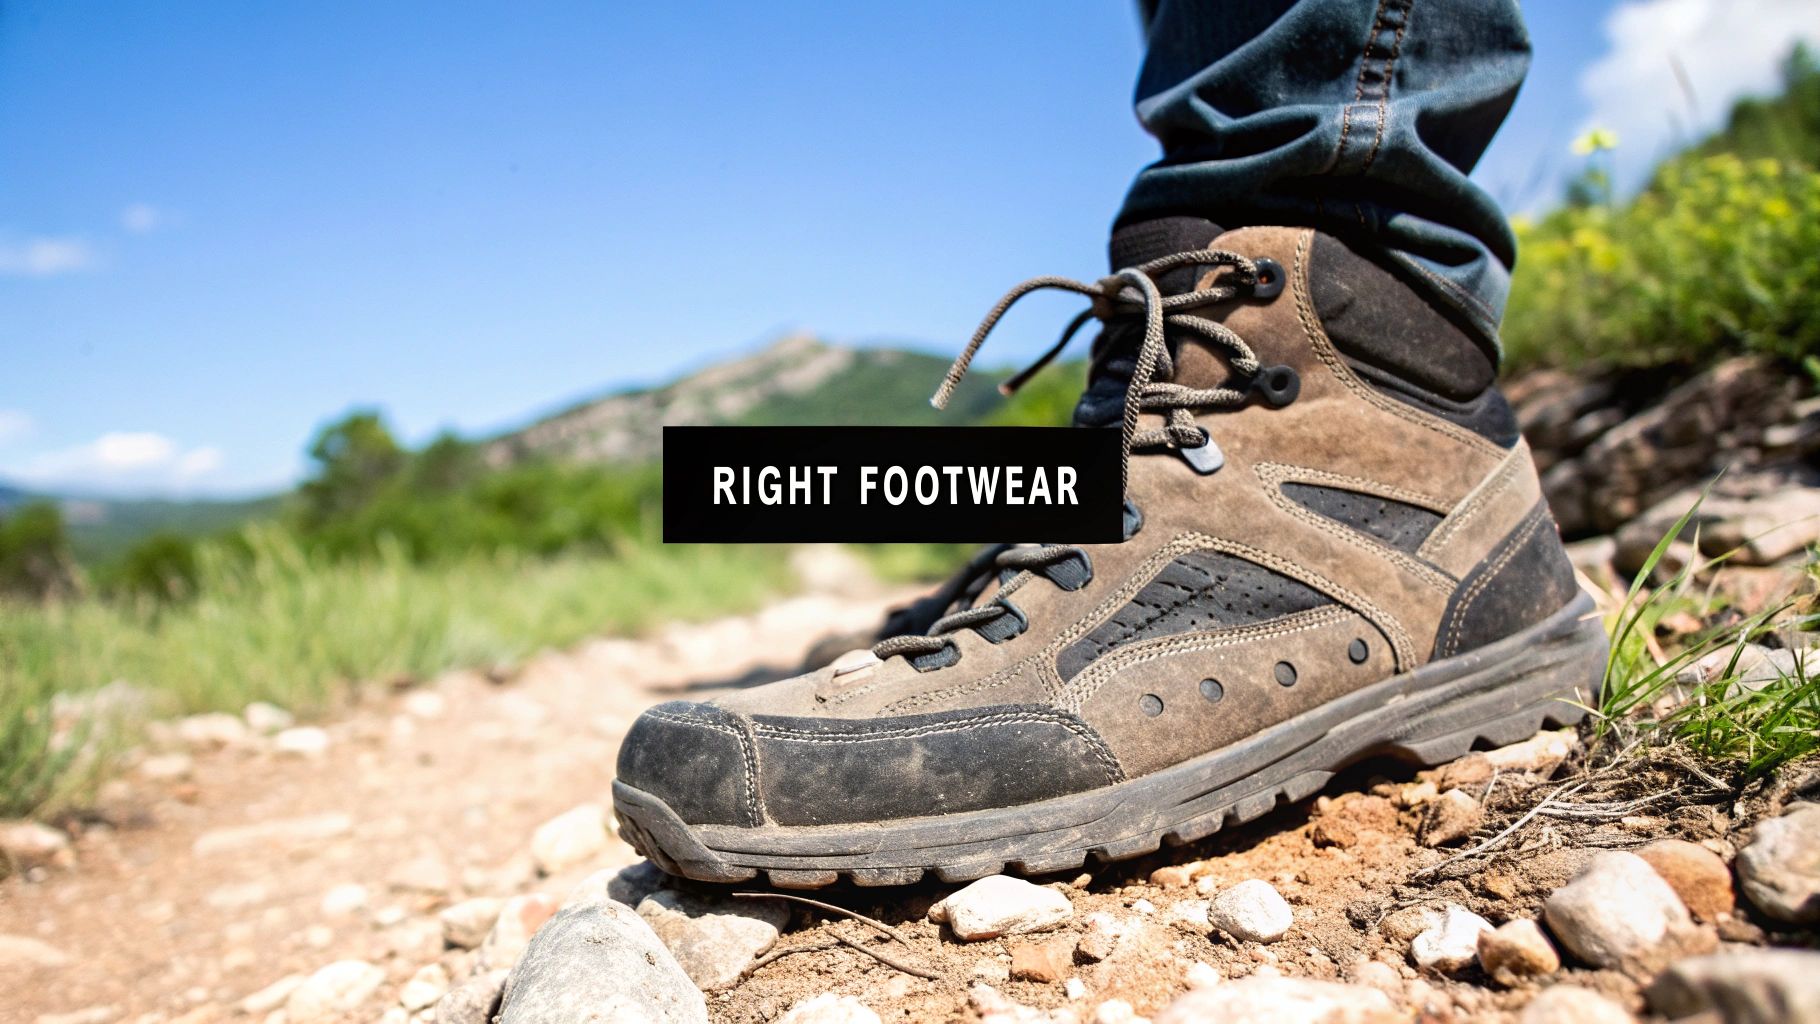
Blister prevention truly begins before you even step on the trail. It all starts with your footwear. Get this right, and you've built the best possible defence against the friction that can turn a brilliant day out into a painful slog.
Your Foundation for Blister-Free Hiking
Think of your boots as less of an item of gear and more of an extension of your own two feet. Choosing the right pair isn't about the flashiest brand or the highest price tag; it's about finding the perfect match for your foot shape, the kind of terrain you'll be tackling, and how you like to walk.
The materials make a huge difference. Classic full-grain leather boots are incredibly durable and supportive, but they demand a serious break-in period. On the other hand, many modern synthetic boots are lighter, more breathable, and feel comfortable almost straight away, though they might not last as many seasons.
Finding the Perfect Fit
This is where so many of us get it wrong. The most common mistake? Buying boots that are too snug. Over a long walk, your feet can swell by as much as half a size, so that "perfect" fit in the shop can quickly become a torture chamber on the trail.
Here are a few pointers I've picked up over the years for getting the fit just right:
Shop in the afternoon. Always try on boots later in the day when your feet have naturally swollen, mimicking how they'll be during a hike.
Wear your hiking socks. The thickness of your socks can completely change how a boot feels. Make sure you test them with the exact pair you'll be wearing.
Do the finger test. Before lacing up, slide your foot forward until your toes touch the front of the boot. You should be able to easily slip one finger between your heel and the back of the boot.
The Critical Break-In Process
Pulling a brand-new pair of boots out of the box and heading straight for a 10-mile hike is a recipe for disaster, especially with stiff leather models. The break-in period isn't just a suggestion; it's essential. It’s your chance to soften up the boot's materials, allowing them to mould perfectly to the unique contours of your feet.
This process prepares both your boots and your feet for the demands of the trail. The moment you feel that initial rubbing, or "hotspot," is your cue to act.

As you can see, stopping a blister in its tracks is all about catching it at that early hotspot stage.
A slow and steady approach to breaking in your boots is key. Here’s a simple schedule I recommend to my fellow walkers to get their boots trail-ready without wrecking their feet.
A Practical 4-Week Boot Break-In Schedule
Week | Activity | Duration | Key Focus |
|---|---|---|---|
Week 1 | Wear around the house | 1-2 hours daily | Getting used to the feel; identifying any obvious pinch points. |
Week 2 | Short walks on pavement | 30-60 minutes, every other day | Simulating walking motion on a flat, predictable surface. |
Week 3 | Easy local trails & paths | 1-2 hours, twice a week | Introducing uneven ground and gentle slopes. Testing lacing techniques. |
Week 4 | Half-day hike on varied terrain | 3-4 hours with a light pack | A final "dress rehearsal" to ensure all-day comfort. |
This gradual process does more than just make your boots comfortable. It also toughens up the skin on your feet, building its natural resilience to friction and pressure points.
Don't just take my word for it. A study on military cadets found that recruits who wore their boots for over 20 hours per week before training even started suffered significantly fewer blisters. It’s solid proof that conditioning your feet and footwear together works. You can read the full research about boot conditioning here.
Once you feel confident, why not give them a proper test run? Exploring some of the best Northumberland walking trails for 2025 is a fantastic way to see how your newly broken-in boots handle real-world hills and paths.
Your Secret Weapon Against Friction
While your boots provide the core structure, what you put inside them is your very first line of defence against the misery of blisters. Getting your sock strategy right is a genuine game-changer, transforming your foot's environment from a potential problem zone into a comfortable, dry haven.
Many of us learned the hard way that the old adage "cotton is rotten" is especially true out on the trail. Cotton is like a sponge; it soaks up sweat and holds it right against your skin. This dampness softens your skin and massively increases friction – creating the perfect storm for a blister to form.
Instead, experienced walkers know to rely on far superior materials. Merino wool is a natural wonder, brilliant at wicking moisture away while also regulating temperature. It keeps your feet comfortable in both warm and cool conditions. Modern synthetics, like polyester and nylon, are also fantastic at moisture management and are often blended with materials like spandex to ensure a snug, non-bunching fit.
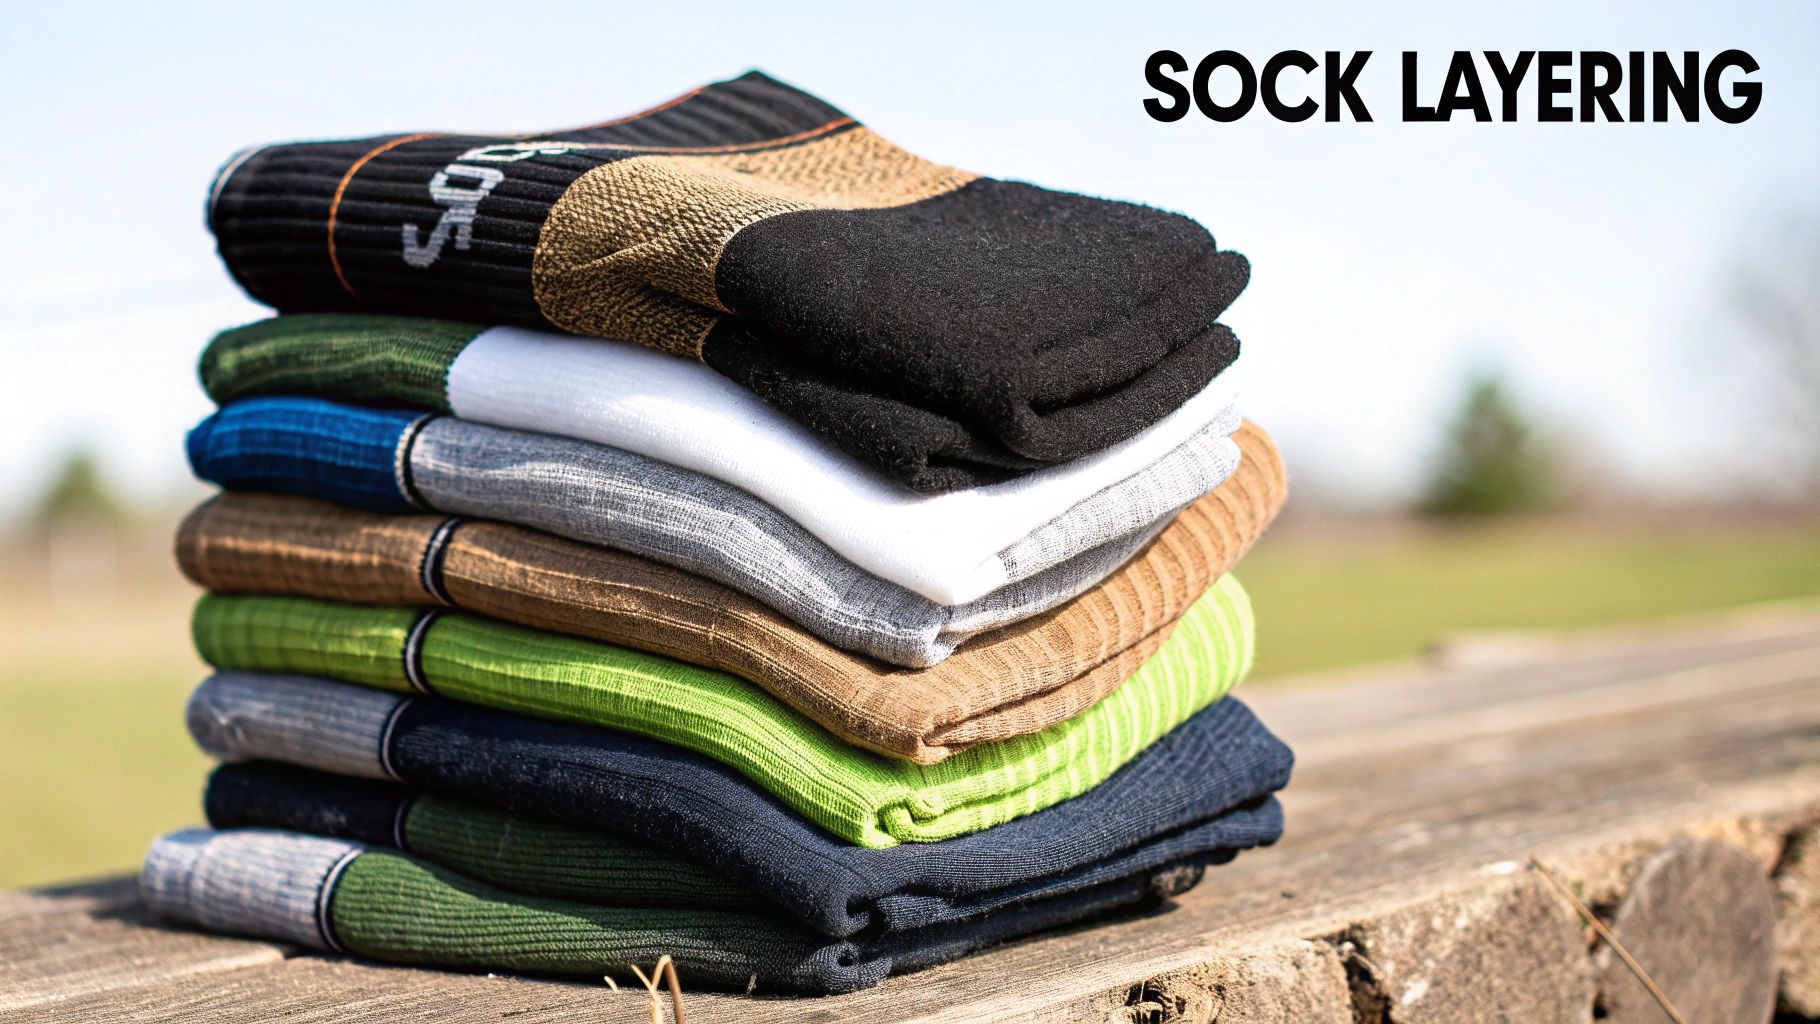
The Two-Sock Layering System
One of the most effective tactics you can adopt is the two-sock system. It might sound counterintuitive – surely it would just create more bulk and heat? But when done correctly, it cleverly manages friction by making the socks rub against each other, not against your skin.
This isn't just trail folklore. It's a proven technique that requires two specific types of socks working in perfect harmony:
The Liner Sock: This is a very thin, smooth sock worn directly against your skin. Its main job is to pull sweat away from your foot and provide a low-friction surface. Think materials like silk, polyester, or thin nylon.
The Outer Sock: Worn over the liner, this is your traditional cushioned hiking sock. It provides warmth and padding while drawing moisture away from the liner sock to the outside of your boot, where it can evaporate. A good Merino wool or thick synthetic blend is ideal here.
This layering method effectively redirects the forces of friction. Any movement happens between the smooth liner and the cushioned outer sock, rather than between the sock and your delicate skin. It’s a small adjustment that makes a huge difference over a long day.
This technique is backed by serious experience, even in demanding environments like military training. Research from the UK highlights how a two-sock system—pairing a thin, low-friction polyester inner sock with a thicker wool outer one—is an effective way to minimise skin friction. You can explore more about these findings on TheBMC.co.uk's guide to preventing friction blisters.
Getting the Fit and Combination Right
For this system to work, the fit has to be spot-on. Your socks should be snug, almost like a second skin, but never so tight that they constrict blood flow.
Wrinkles or bunching are your absolute enemies, as they create immediate pressure points. Always make sure your socks are pulled up smoothly before you even think about putting your boots on.
Don't be afraid to experiment with different material combinations to see what works for you and the climate you're hiking in. For damp, cool UK conditions, a thin polyester liner paired with a mid-weight Merino wool outer sock is a classic and highly effective combination.
Your feet will stay drier, warmer, and blissfully friction-free.
Pre-Hike Foot Prep That Actually Works
Trust me, the secret to happy feet on the trail begins long before you even pull on your boots. A solid pre-hike foot care routine isn’t just a nice idea; it’s the bedrock of blister prevention. Think of it as laying the groundwork for a comfortable, successful day out, stopping friction before it ever gets a chance to become a problem.
It all starts with some simple, but absolutely vital, maintenance. First things first: trim your toenails. Cut them straight across, making sure the corners don't dig into the neighbouring toes. If they’re too long, they’ll constantly bash against the front of your boot on descents, which is a one-way ticket to bruised, unhappy feet.
Next, let's talk calluses. While a bit of tough skin is your friend, thick, hard calluses are not. They create nasty pressure spots and can even crack painfully. You don’t want to get rid of them completely, but you do need to manage them. Gently file them down with a pumice stone after a bath or shower until they’re smooth and flexible.
Proactive Taping For Hotspots
If there's one thing I tell every hiker, it's this: proactively tape your known hotspots. Don't wait to feel that familiar sting of friction. Get ahead of it by applying tape to clean, dry feet before you even think about your socks. This simple layer becomes a shield, taking the rubbing so your skin doesn't have to.
I’ve found that most people have the same trouble spots:
The back of your heels
The sides of your big and little toes
The ball of your foot
For this job, zinc oxide tape is brilliant. It’s seriously sticky and stays put, even when you're sweating. Kinesiology tape is another great shout because it’s flexible and breathable. Just be sure to apply it smoothly – any wrinkles in the tape will just create new friction points.
Your pre-hike checklist should become second nature. The evening before, handle your toenails and calluses. On the morning of your hike, while everything is clean and dry, apply your tape. This turns foot care into a deliberate, core part of your hiking ritual.
Mastering this simple routine makes a world of difference. When you're ready to put your well-prepped feet to the test, you'll find that even the top circular walks in Northumberland feel more enjoyable. Taking these few proactive steps gives you the freedom to focus on the views ahead, not the growing discomfort in your boots.
Mastering On-Trail Hotspot Management
All the prep in the world is fantastic, but true blister prevention comes down to how you react on the trail. It's about listening to your body and acting decisively – a skill that really separates a joyful walk from a painful one. The single most important lesson? Recognise and act on the very first sign of a ‘hotspot’.
This isn't a full-blown blister yet; it's the precursor. It’s that subtle, warm rubbing sensation that’s all too easy to ignore, especially when you’re lost in the view or trying to keep pace with your group. But ignoring it is the biggest mistake you can make. The moment you feel it, you have to stop.
Respond Immediately to Hotspots
Don't tell yourself you'll sort it at the next stile or once you’ve crested the hill. Stop right where you are. Find a safe spot to sit, and get your boot and sock off without a second thought. This isn't an overreaction; it's essential on-trail triage.
Once your sock is off, have a proper look at the area. You’re searching for a patch of redness or slight tenderness where the friction was happening. The goal is to jump in now, while it’s just an irritation, and protect that skin before it has a chance to separate and fill with fluid.
Depending on what you’ve packed in your first aid kit, there are a few ways to tackle it.
Medical Tape: A smooth, wrinkle-free layer of zinc oxide or kinesiology tape over the hotspot creates a brilliant protective barrier. This second skin takes the friction, giving your own skin underneath a chance to recover.
Blister Plasters: These are the gold standard for on-the-go care. Applying a specialised hydrocolloid plaster, like a Compeed, gives you instant cushioning and creates a low-friction surface against your sock.
Here in the UK, this proactive approach is a cornerstone of good hiking practice. In fact, most walkers I know would say that simply keeping these plasters handy and using them at the first hint of rubbing is enough to stop blisters in their tracks, even on challenging multi-day treks. You can find more great advice on using blister plasters over at OurSportingLife.co.uk.
Proactive Trail Habits to Manage Moisture
Beyond dealing with hotspots, managing your foot’s environment throughout the day is crucial. Moisture – whether from sweat or wet ground – softens the skin, making it far more vulnerable to damage from friction. This is where a few simple habits can make a world of difference.
Whenever you stop for a proper break—for lunch or even just a ten-minute breather—take your boots and socks off. Let your feet air out. This simple act helps dry the skin and gets rid of the heat and moisture building up inside your boots. It’s one of the easiest yet most effective trail habits you can possibly adopt.
Think of it like this: your feet are working hard inside a warm, enclosed space. Just as you’d open a window to air out a stuffy room, you need to give your feet a chance to breathe. This resets their environment, keeping them drier and much more resilient.
Another game-changing tactic is to carry a spare pair of hiking socks. If your feet feel particularly sweaty or if you’ve just trudged through a boggy patch, swapping to a dry pair mid-hike feels transformative. Just secure the damp pair to the outside of your rucksack to dry as you walk. This simple switch can instantly boost your comfort and dramatically lower your blister risk.
These on-trail strategies are your active defence system. By listening to your feet and managing moisture, you can make sure your hike remains a pleasure from start to finish. It’s this kind of practical knowledge that makes planning one of the unforgettable walking holidays in Northumberland an exciting prospect rather than a daunting one.
Building Your Essential Hiking Foot Care Kit

Think of a well-stocked foot care kit as your secret weapon. It’s a small, lightweight insurance policy tucked into your rucksack that can turn a hike-ending hotspot into a minor inconvenience. A miserable trudge back to the car? Not on my watch.
The trick is to pack smart. You don’t need a mobile pharmacy, just a few carefully chosen items that will see you through most trail troubles. A simple waterproof pouch is perfect for keeping everything organised and ready to go. With this little kit, you’ll have the confidence to tackle any walk knowing you’re prepared for whatever your feet throw at you.
The Must-Have Essentials
Whether you're out for a two-hour ramble or a full-day epic, these are the non-negotiables. They are your first line of defence and the absolute foundation of good blister prevention.
Hydrocolloid Blister Plasters: Forget standard plasters. These are the gold standard. They cushion, protect, and create a low-friction surface that helps hotspots heal. Always have a few different sizes.
Antiseptic Wipes: Crucial for cleaning the skin before you stick anything on. If a blister does pop (it happens!), cleaning the area properly is your best defence against infection.
Zinc Oxide Tape: This stuff is brilliant. It’s incredibly sticky and durable, making it perfect for taping over known trouble spots before you even start walking. It creates a tough second skin that stays put, even when things get sweaty.
Small Scissors: You’ll need a tiny pair for cutting your tape to the perfect size and shape. I’d recommend a pair with rounded tips to avoid any accidental pokes when you’re rummaging in your pack.
Anti-Chafe Balm: A real game-changer. Applied before you put your socks on, a good balm reduces friction in high-risk areas like your heels, the ball of your foot, and between your toes.
Your foot care kit should be the easiest thing to reach in your pack. When you feel that first tingle of a hotspot, you need to act immediately—not spend ten minutes unpacking. Keep it in a top lid or a side pocket for lightning-fast access.
Good-To-Have Extras for Longer Treks
For those bigger adventures, like multi-day treks or tackling some of the more rugged [unforgettable Northumberland walking routes for 2025](https://www.fellfarmhideaway.com/post/7-unforgettable-northumberland-walking-routes-for-2025), adding a couple of extra items can provide real peace of mind.
A sterile needle, for instance, can be a lifesaver for safely draining a large, painful blister that’s clearly going to burst on its own anyway. I also always pack a spare pair of liner socks. Swapping into a dry pair halfway through a long day can completely change the environment inside your boot, instantly reducing the moisture and friction that cause problems.
Before we move on, let's break down what you should carry for different types of hikes. A quick day trip has different needs than a week-long expedition, so here’s a simple guide to packing your kit.
Essential vs. Advanced Foot Care Kit Items
Item | Essential for Day Hikes | Recommended for Multi-Day Treks | Primary Use |
|---|---|---|---|
Blister Plasters | Yes | Yes | Cushioning hotspots and existing blisters |
Antiseptic Wipes | Yes | Yes | Cleaning skin to prevent infection |
Zinc Oxide Tape | Yes | Yes | Proactively taping high-friction areas |
Small Scissors | Yes | Yes | Cutting tape and plasters to size |
Anti-Chafe Balm | Recommended | Yes | Reducing friction before you start |
Sterile Needle | No | Recommended | Safely draining large, painful blisters |
Spare Liner Socks | No | Yes | Swapping out damp socks to keep feet dry |
Painkillers (Ibuprofen) | Optional | Recommended | Managing pain and inflammation |
Duct Tape | No | Optional | Emergency gear/boot repair, hotspot patch |
As you can see, the core kit remains the same, but for longer, more committing walks, a few extra bits of gear can make a world of difference. Your feet are your most important asset on the trail – looking after them is always worth the effort.
Even after you’ve prepped your feet and packed your kit, a few lingering questions and myths about blisters can bubble up. Let's clear the air on some of the most common dilemmas hikers face, so you can step onto the trail with total confidence.
One of the biggest debates you’ll hear is whether to pop a blister or not. Honestly, whenever you possibly can, leave a blister intact. Think of it as your body’s own perfectly-formed, sterile plaster. That bubble of skin is a natural barrier keeping nasty infections out while protecting the raw, damaged skin underneath.
Of course, there are exceptions. Sometimes a huge, tight blister in a high-friction spot is just so painful it’s clearly going to burst on its own. In that very specific scenario, carefully draining it can bring some much-needed relief.
Should I Pop a Blister or Leave It Alone?
If you absolutely must drain it, you need to do it safely to avoid infection. First, clean the blister and a sterile needle with an antiseptic wipe. Gently make a tiny pinprick right at the edge of the blister and softly press to let the fluid drain out. Crucially, leave the overlying skin in place – don’t be tempted to peel it off. That skin is still your best protection.
Finally, apply a dab of antiseptic and cover it securely with a proper hydrocolloid plaster for cushioning.
Another common question revolves around gear. Are those pricey hiking socks really worth the money? In a word: absolutely. It’s better to think of them as an investment in your comfort, not an expense. Socks made from Merino wool or quality synthetics are specifically engineered to pull sweat away from your skin.
Cotton, on the other hand, is a blister’s best friend. It soaks up sweat and holds it against your foot like a damp, clingy cloth. Technical socks keep your feet much, much drier – and drier feet mean less friction and a dramatically lower chance of blisters ever forming.
Can I Just Use Duct Tape for Hotspots?
While duct tape is a legendary bit of kit for fixing just about anything else, it’s a terrible choice for your skin. Sure, it might work in an absolute emergency, but it doesn't breathe at all. This traps moisture right where you don't want it, which can make a hotspot much worse.
Even more importantly, the super-strong adhesive can easily rip your skin when you try to remove it, leaving you with a bigger problem than you started with. It's always a better idea to carry a small roll of proper, skin-friendly medical tape like zinc oxide tape.
Getting your head around these common issues will make you far better prepared for whatever the trail throws at you. This kind of real-world knowledge is priceless, whether you’re planning a few local rambles or tackling one of the routes in our guide to the 8 best Northumberland National Park walks for 2025.
Ready to find your perfect base for exploring Northumberland's incredible trails? Book a restorative stay at Fell Farm Hideaway and give your feet the peaceful retreat they deserve after a long day of hiking. Discover our cosy cabins today.
Comments